Get started
Set up your profile, add your first service and connect payouts with Stripe.
Step 1: Tell us about you
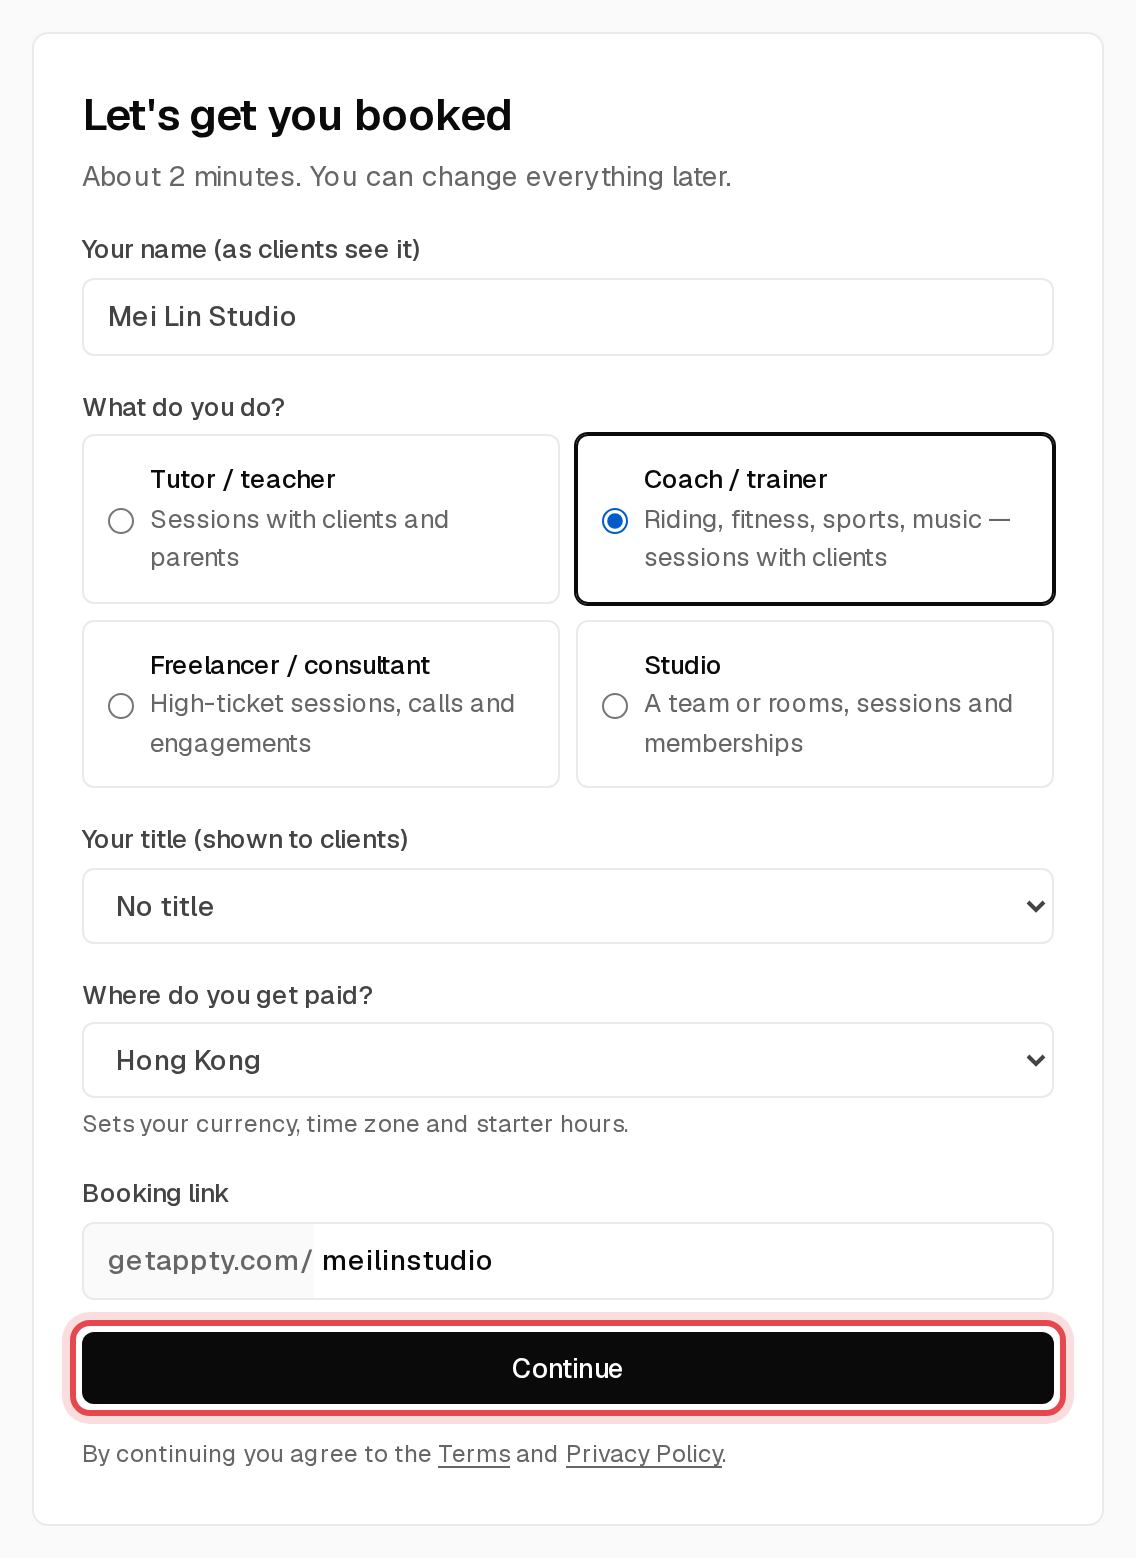
The setup guide opens after you sign up. Add your name as clients will see it, pick what you do and where you get paid, then click Continue.
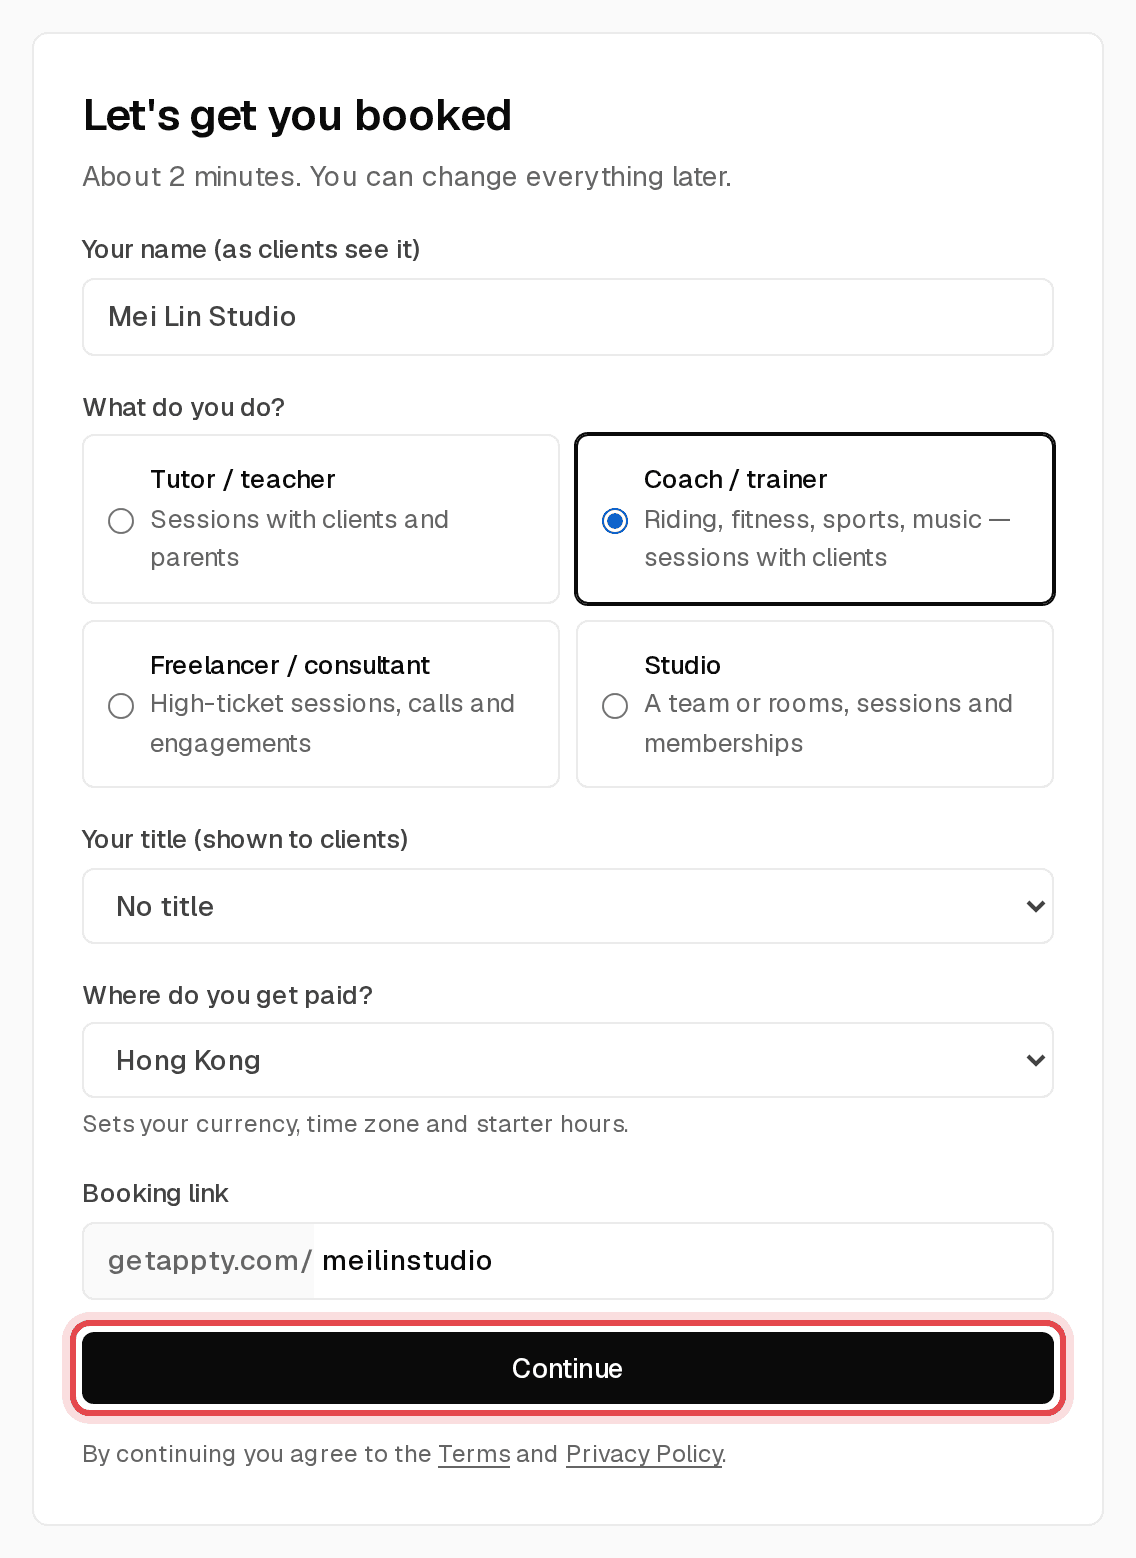
Tip: Where you get paid sets your currency, time zone and starter hours. You can change all of it later.
Step 2: Add your first service
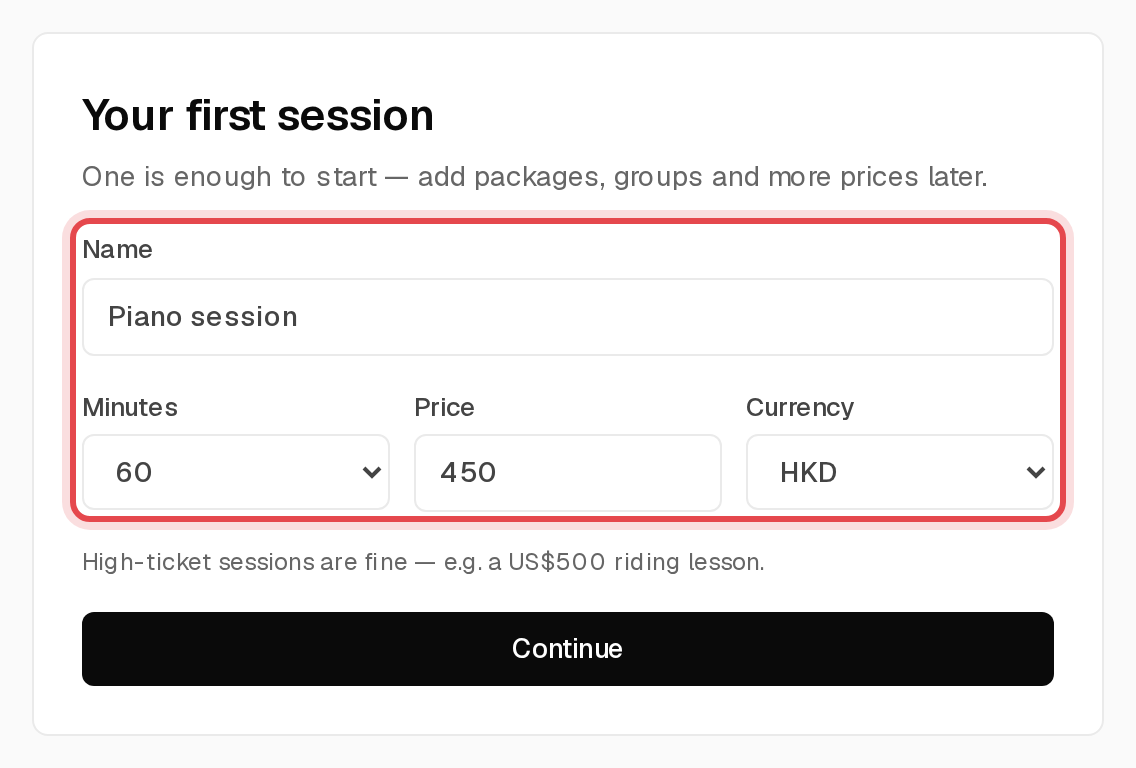
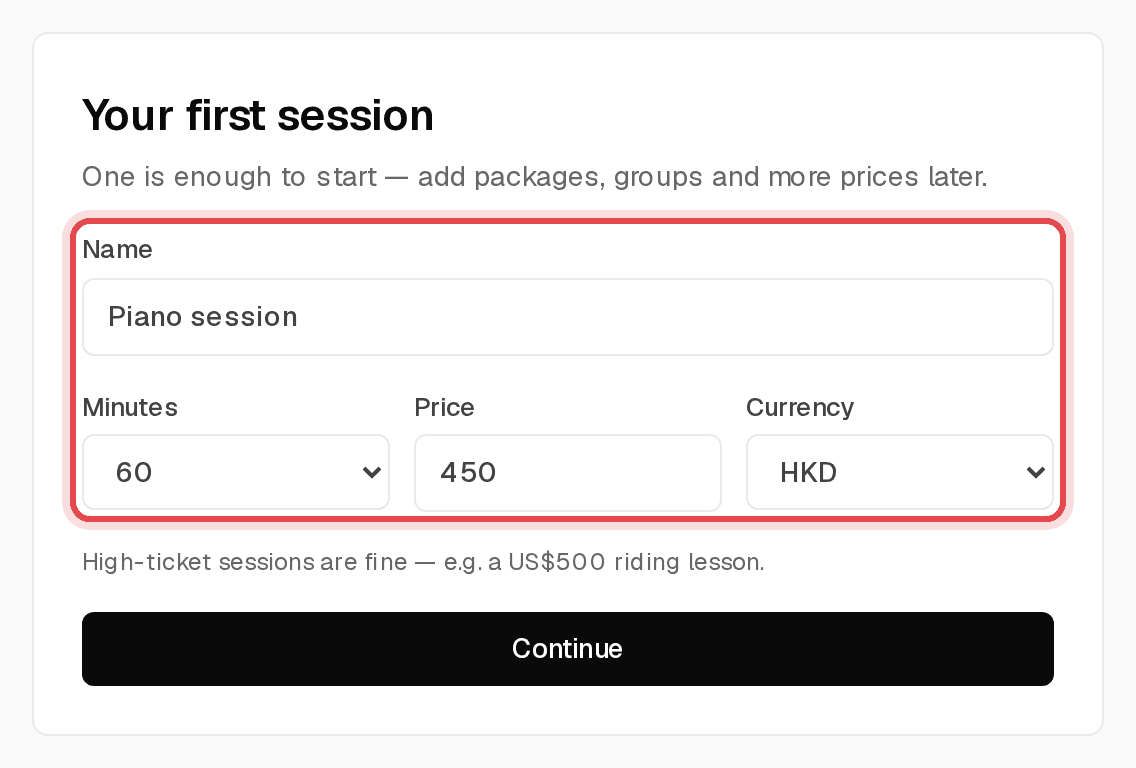
Give it a name, a length in minutes and a price. One service is enough to start taking bookings.
Step 3: Choose your hours
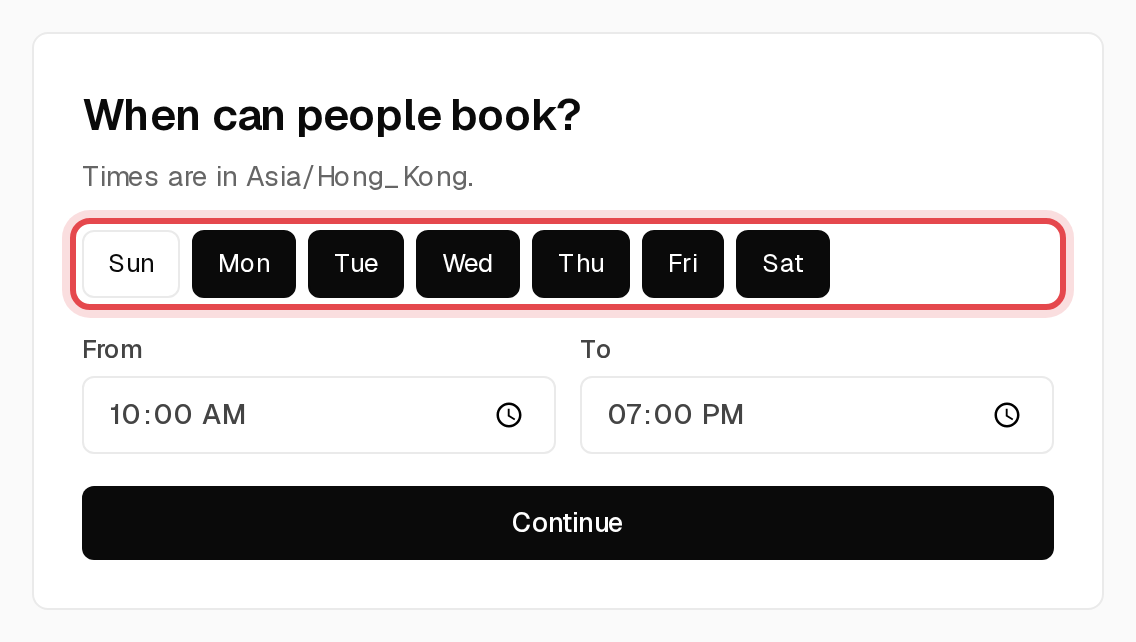
Tick the days you work and set From and To. Clients can only book inside these hours.
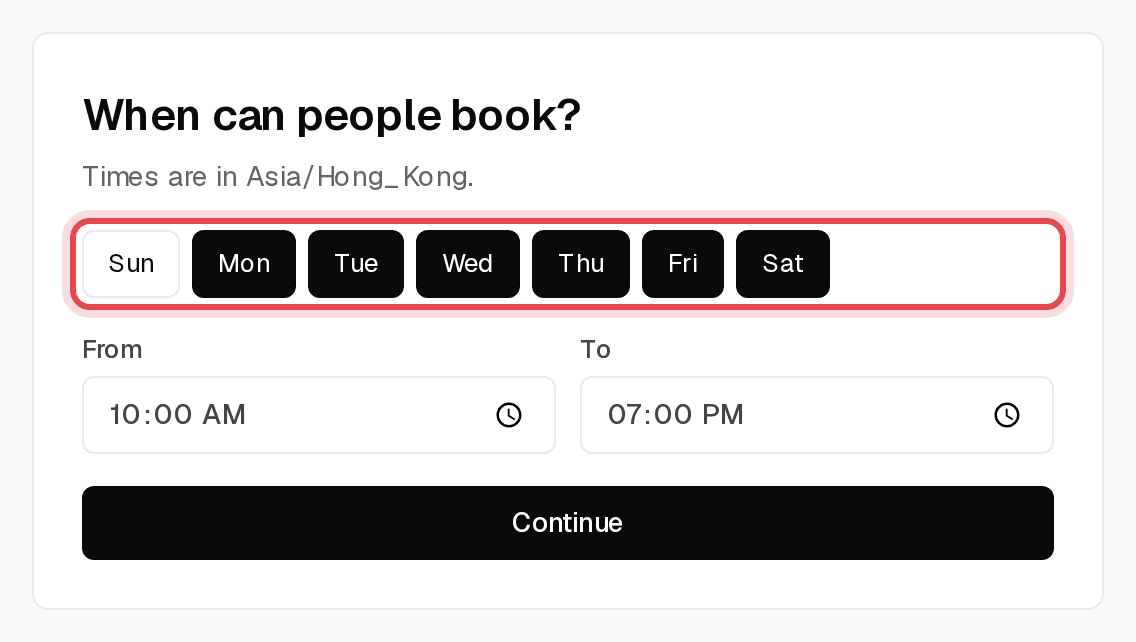
Tip: You can add breaks, buffers and calendar sync later under Availability.
Step 4: Connect payouts with Stripe
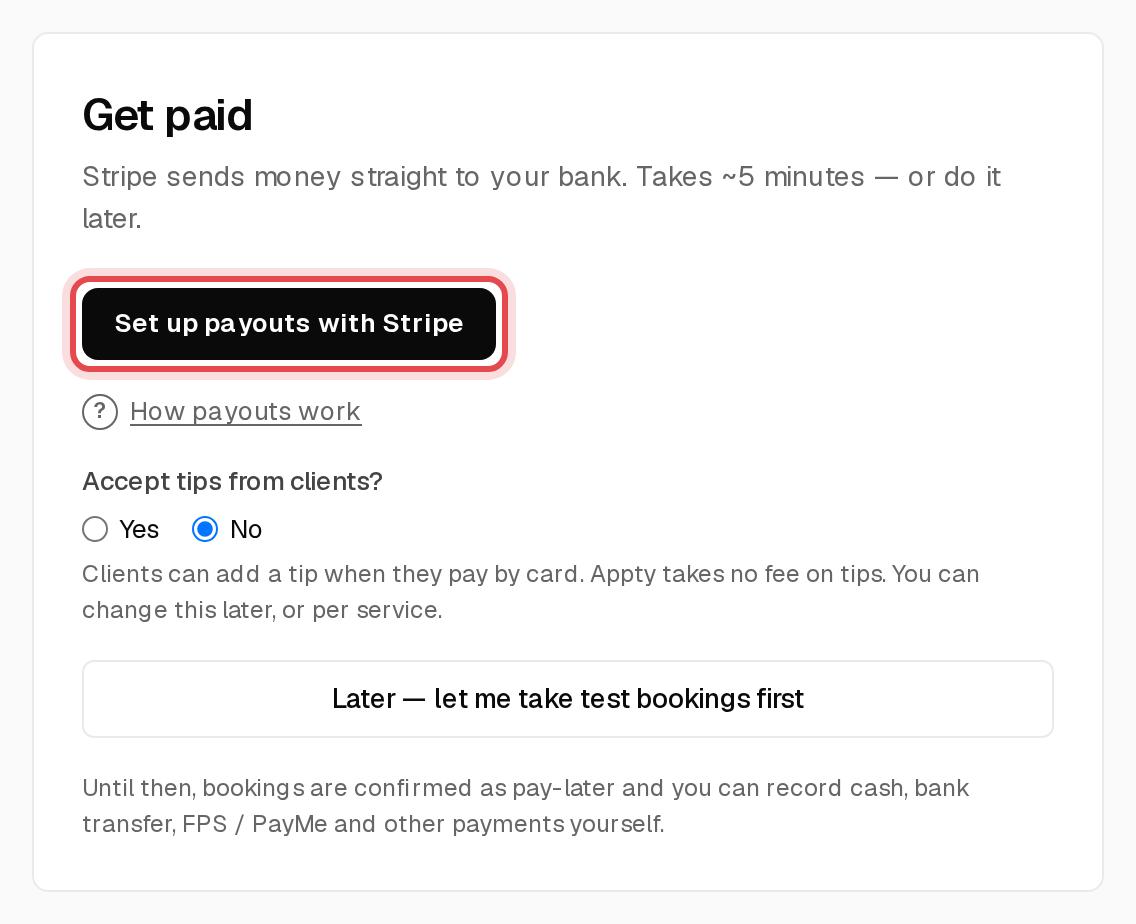
Click Set up payouts with Stripe to get card payments sent straight to your bank. It takes about 5 minutes.
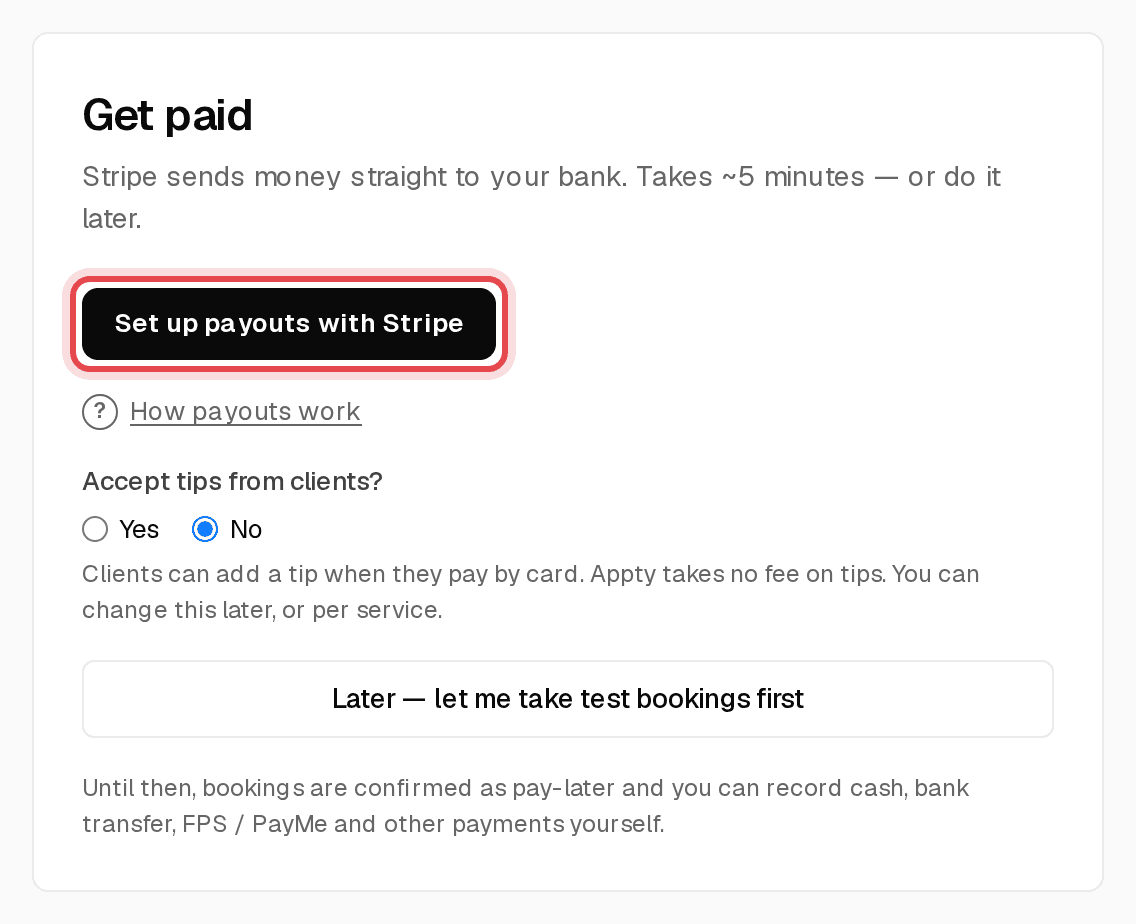
Tip: Not ready? Click “Later — let me take test bookings first”. Bookings are confirmed as pay-later and you can still record cash or FPS payments.
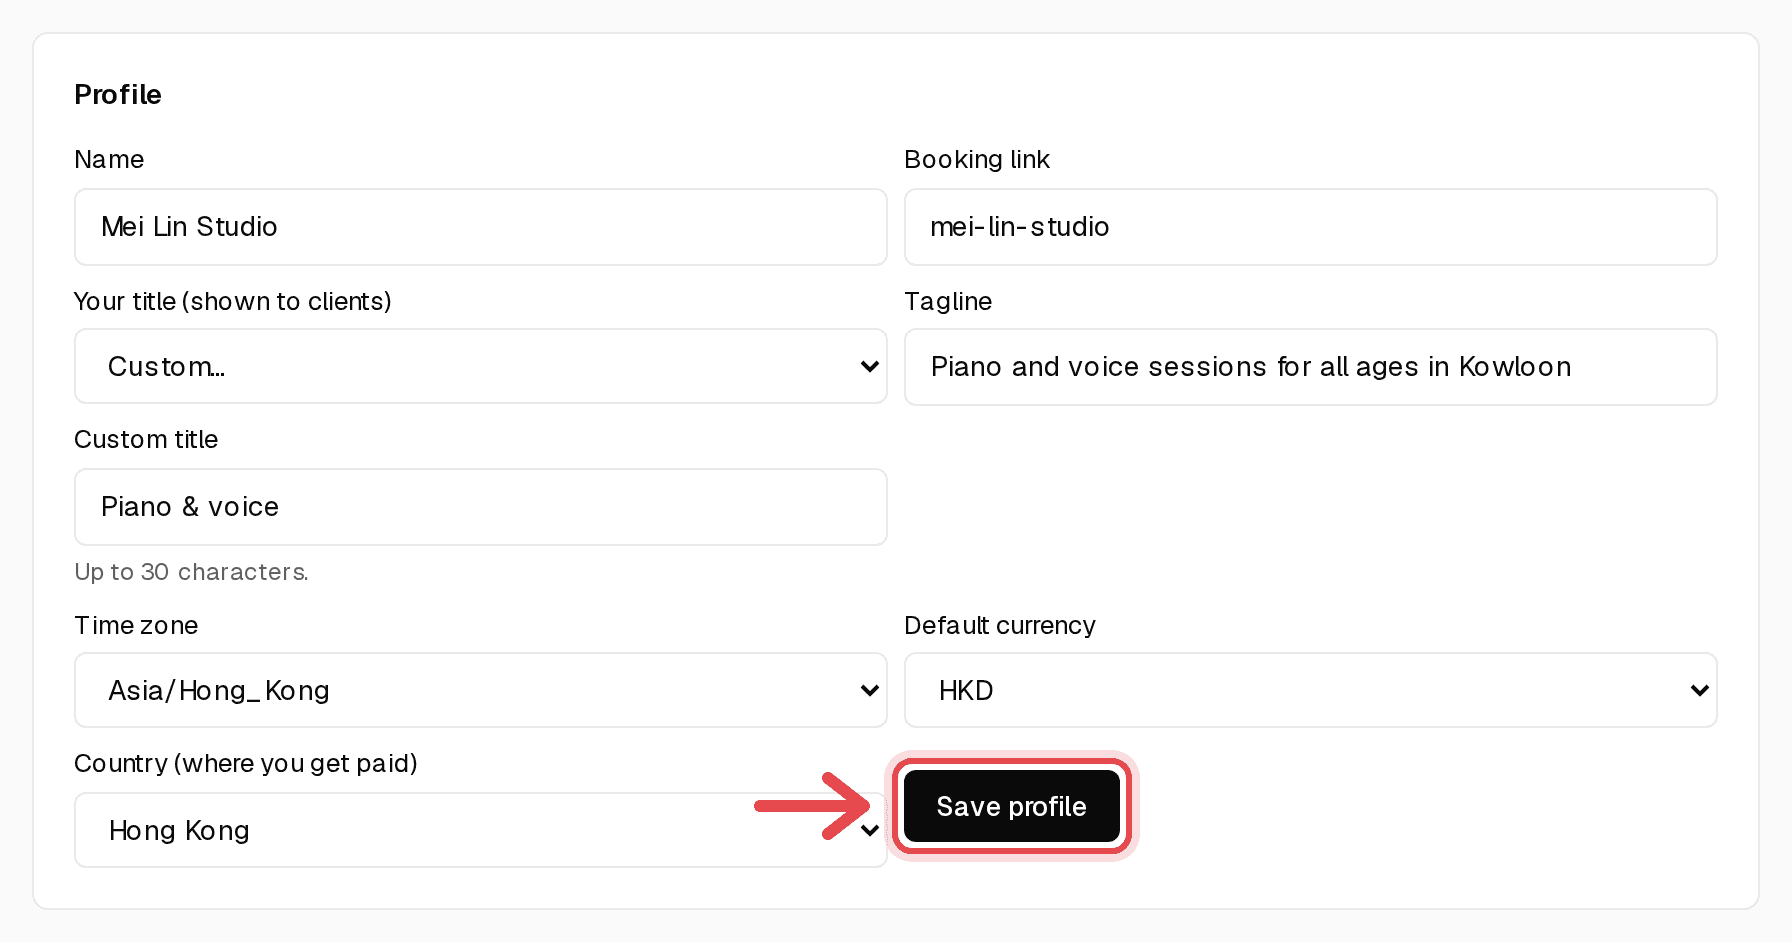
Step 5: Fine-tune your profile
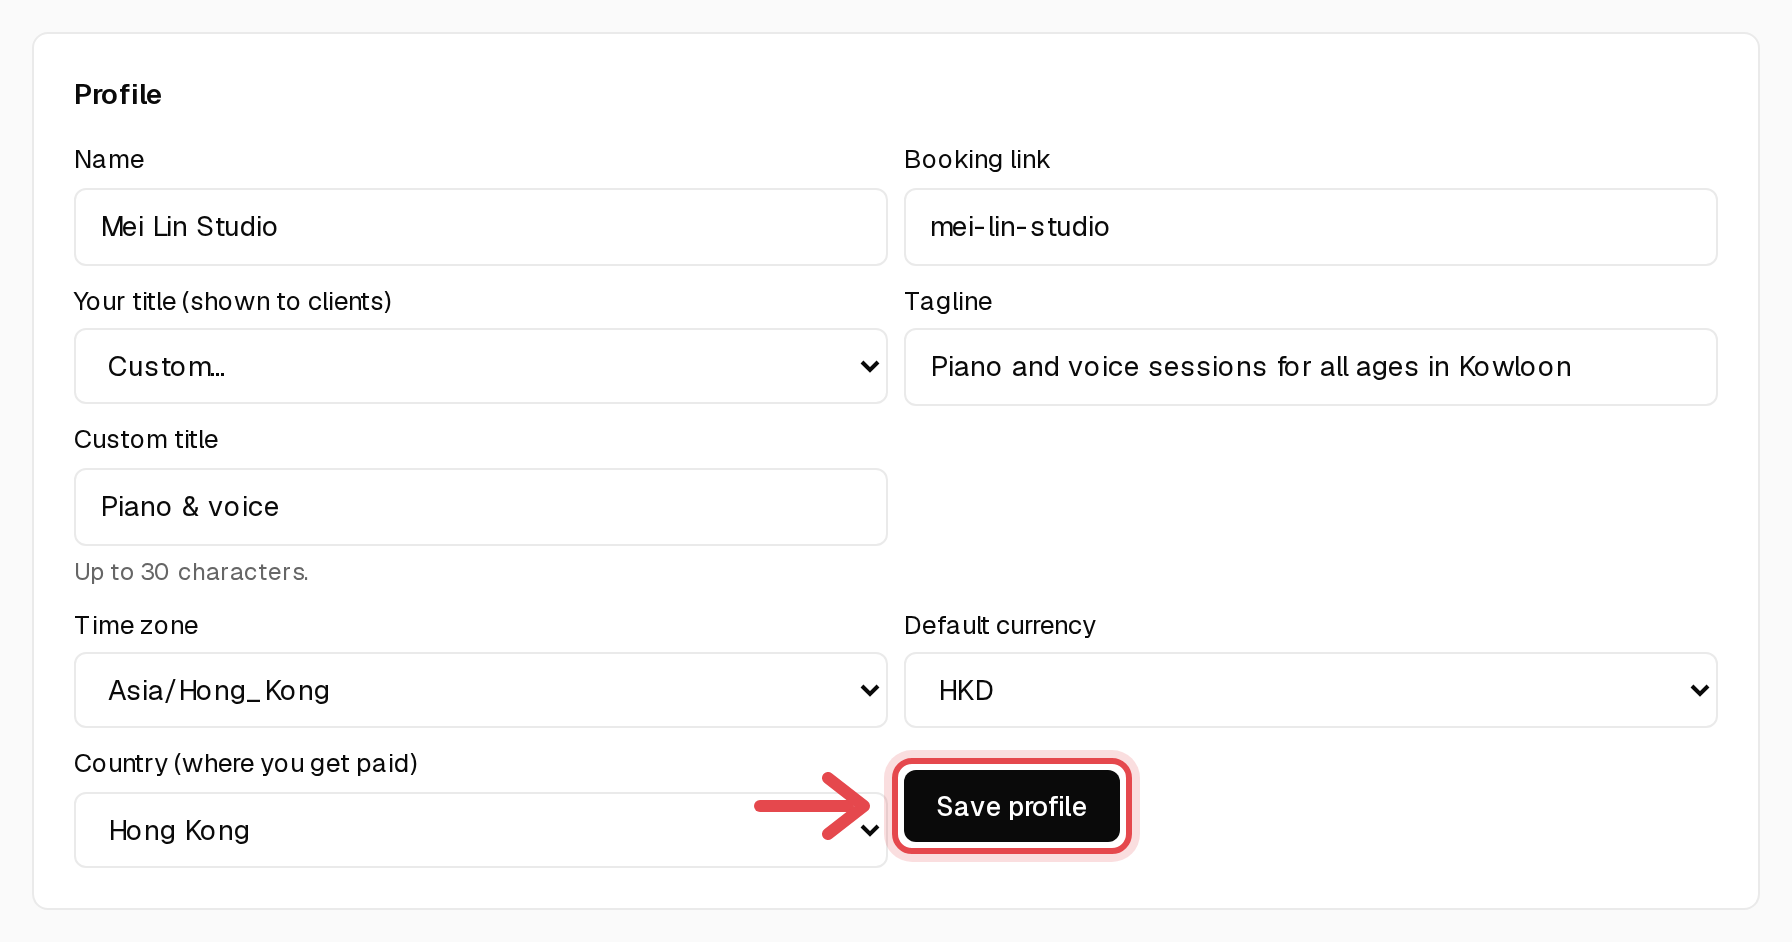
Any time, open Overview and scroll to Profile settings to change your name, booking link, tagline, time zone or currency. Click Save profile when you're done.
Step 6: Add more services
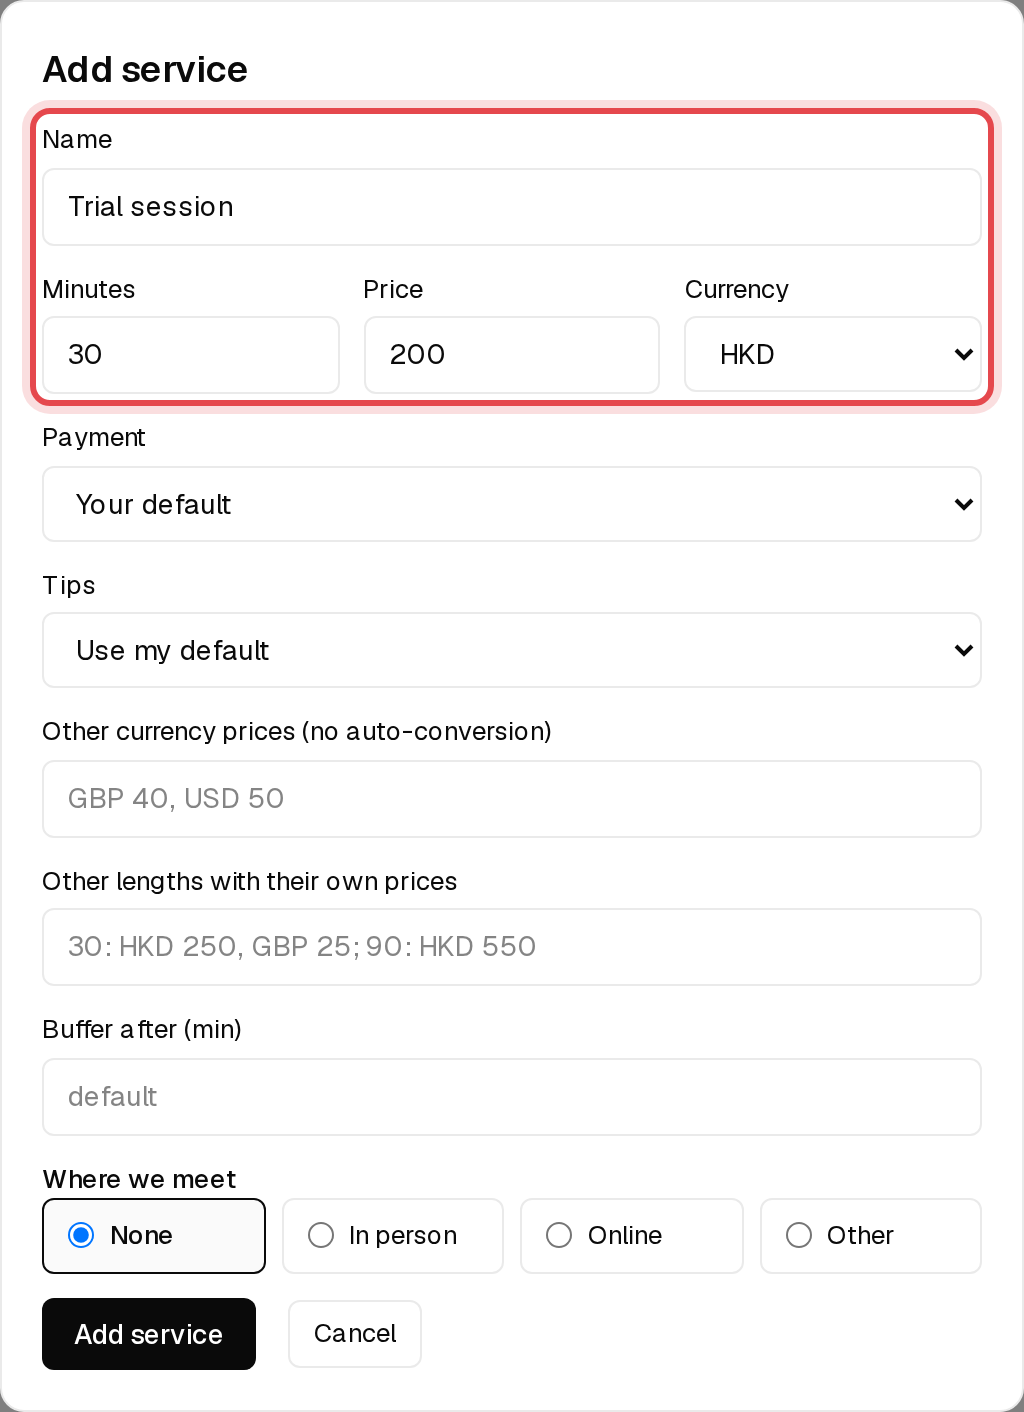
Go to Services and click + Add service. Set the name, minutes and price, and optionally other lengths, payment options and where you meet.
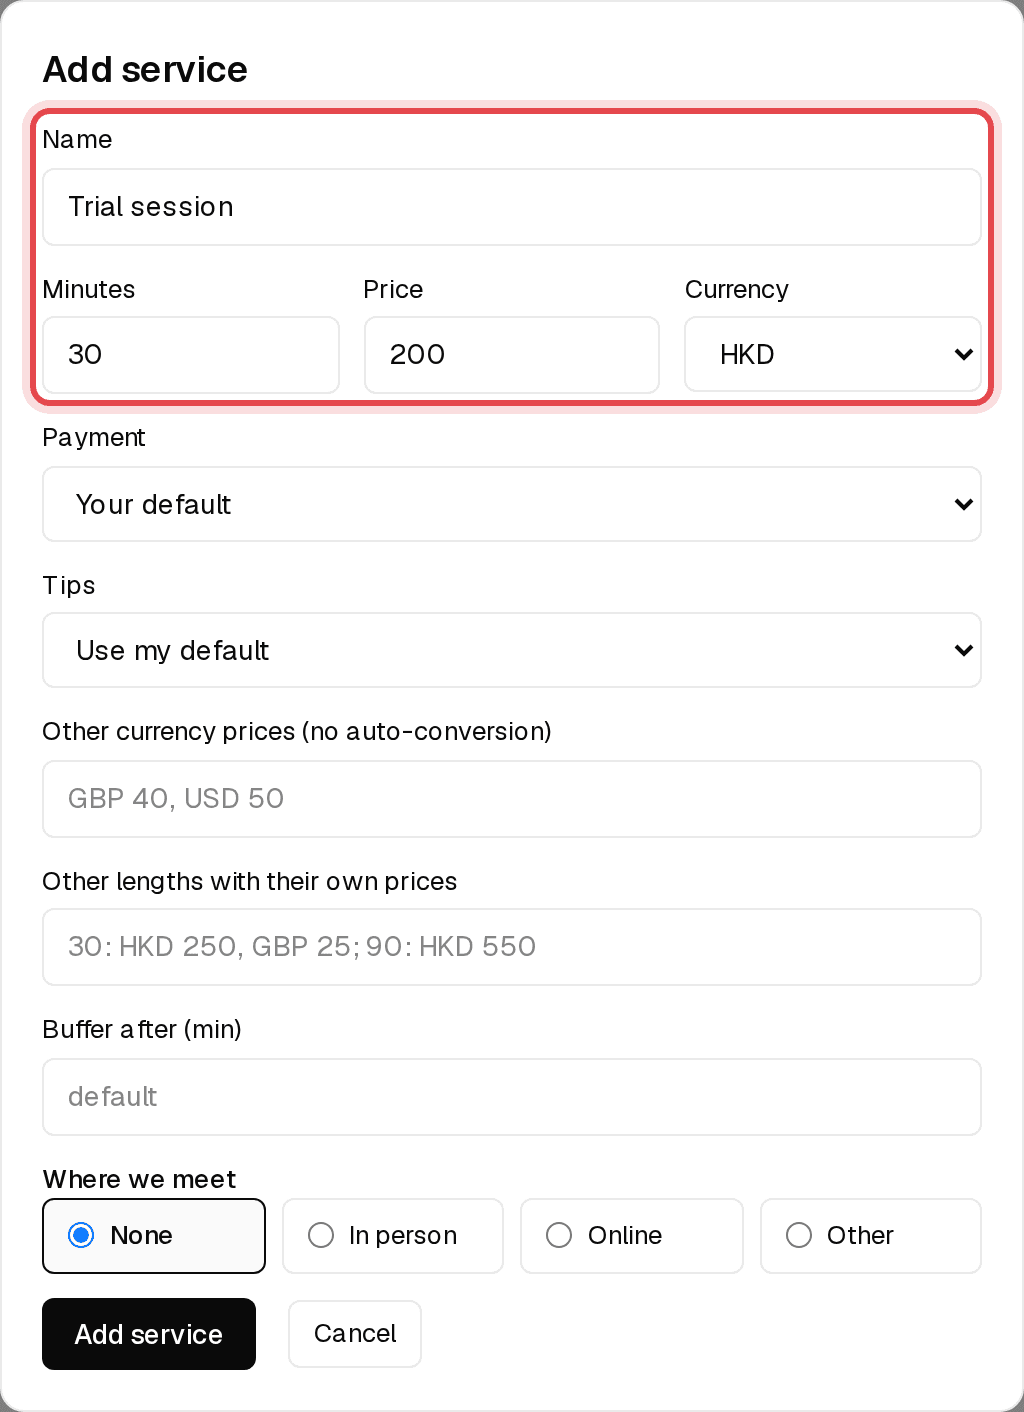
Tip: Editing a price never changes sessions that are already booked.